
Here’s the thing about these cookies: they’re stupid easy to make, dangerously addictive, and the kind of recipe that’ll make people think you spent way more time in the kitchen than you actually did. I’ve watched grown adults eat five of these in one sitting and then casually ask if there are more. There are never more. They disappear faster than your motivation on a Monday morning.
The secret weapon here isn’t some fancy technique or hard-to-find ingredient. It’s strategic underbaking and knowing when to walk away from the oven. These cookies live in that perfect sweet spot where they’re just barely set, still soft in the middle, and threatening to fall apart if you look at them wrong. That’s not a flaw—that’s the whole point.
Why These Cookies Work Better Than They Should
Most peanut butter cookie recipes give you those dry, crumbly things that taste like peanut butter had a fight with sand and lost. These are the opposite. The combination of peanut butter, butter, and just enough moisture from an egg and milk creates cookies that stay soft for days. And by “days,” I mean theoretically, because good luck having them last that long.
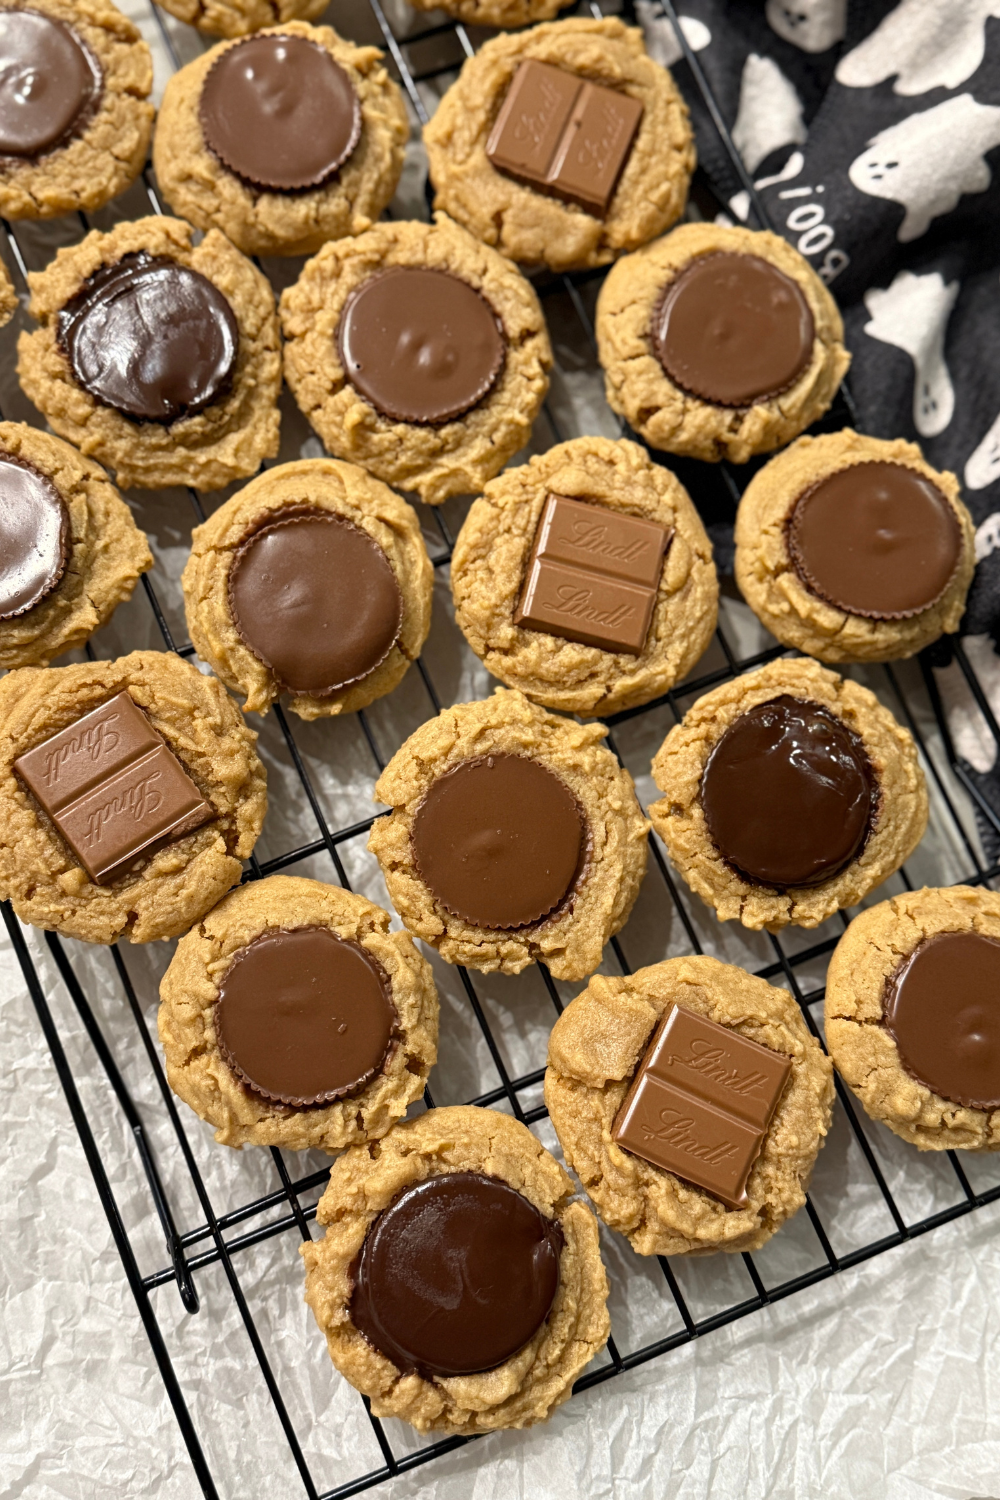
The peanut butter cup pressed into the center isn’t just decoration. It melts slightly into the warm cookie, creating this molten chocolate-peanut butter situation that should probably be illegal in some states. Plus, it saves you from having to make frosting or do any actual decorating work.
The Underbaking Philosophy (Or Why Your Timer Is Lying to You)
Listen carefully: these cookies should look slightly underdone when you pull them out. If they look “perfect” in the oven, you’ve already gone too far. They’ll continue cooking on the hot pan for a few minutes after you take them out, so what looks barely set in the oven becomes perfectly chewy on the cooling rack.
For medium cookies (1.5 tablespoon scoop), 8 minutes is your sweet spot. Larger cookies (3 tablespoon scoop) can handle 10 minutes. But watch them like you’re guarding the last slice of pizza at a party. The difference between “perfect” and “overcooked” is about 45 seconds, and you can’t unfuck an overbaked cookie.
Pro Tips from Someone Who’s Made These Too Many Times
- Reese’s Thins are clutch here. They’re the perfect size and thickness for these cookies. Regular peanut butter cups work too, but the Thins give you a better cookie-to-chocolate ratio.
- Candy variety is your playground. Don’t limit yourself to peanut butter cups. Try Rolos, Hershey’s Kisses, mini Snickers, Milky Ways, or whatever random Halloween candy is taking up space in your pantry. This recipe is basically a vehicle for any chocolate candy you want to press into a warm cookie.
- Room temperature ingredients matter. Softened butter and room temp eggs mix better and create a smoother dough. If you forgot to take your butter out, microwave it for like 5 seconds at a time until it’s soft but not melted.
- Press the candy immediately. Like, the second those cookies come out of the oven, press your candy in. The residual heat melts the chocolate slightly so it adheres to the cookie instead of just sitting on top like an awkward hat.
- Don’t skip the parchment paper. These cookies are soft and delicate. Parchment paper means they slide right off the pan without sticking or breaking.
Why You Just Became Everyone’s Favorite Person
You took basic pantry ingredients and turned them into something that tastes like you went to culinary school. The fact that they’re this easy to make is between you and me. Let people think you slaved over a hot oven. The only thing you actually slaved over was not eating all the dough before it made it to the oven.
These cookies hit that perfect sweet-salty combination that makes your brain light up like a slot machine. And because they stay soft for days (again, theoretically), you can make them ahead for parties, bake sales, or strategic bribes. Whatever you need, these cookies deliver.
Frequently Asked Questions
Can I use natural peanut butter? Stick with regular creamy peanut butter like Jif or Skippy. Natural peanut butter is too oily and will make your cookies spread like they’re trying to escape the pan.
What if I don’t have salted butter? Use unsalted butter and increase the salt to 3/4 teaspoon. The salt is important—it balances the sweetness.
How do I know when they’re done? They should look barely set around the edges but still soft in the center. If the tops look dry or cracked, you’ve gone too far.
Can I freeze the dough? Absolutely. Roll the dough into balls, freeze them on a baking sheet, then transfer to a freezer bag. Bake straight from frozen, adding 1-2 minutes to the baking time.
What other candies work well? Literally any chocolate candy. Rolos create a caramel center, Hershey’s Kisses are classic, mini Snickers add texture, and Milky Ways give you that nougat situation. Get creative.
Do I have to use milk? The milk adds moisture and helps create that soft texture. You can substitute with any milk you have, including non-dairy options.
How long do these stay soft? Store them in an airtight container at room temperature for up to 5 days. If they start to firm up, microwave one for about 10 seconds to bring back that just-baked texture.

Peanut Butter Cup Cookies
Ingredients
Method
- Preheat and prep. Get your oven to 375°F and line your baking sheets with parchment paper. This is the responsible adult part of the recipe.
- Cream the good stuff. In your mixer, beat together the peanut butter, butter, granulated sugar, and brown sugar until everything’s blended and fluffy. This takes about 2-3 minutes. Don’t rush it—this is where the cookie texture magic happens.
- Add the wet ingredients. Beat in the egg, milk, and vanilla until fully combined. The mixture should look smooth and cohesive.
- Mix the dry ingredients. In a separate bowl, whisk together the flour, baking powder, and salt. This ensures even distribution so you don’t get pockets of baking powder in your cookies.
- Combine and chill. Add the flour mixture to the peanut butter mixture and mix until just combined. Don’t overmix—once you can’t see dry flour anymore, you’re done.
- Scoop and space. Scoop tablespoon-sized portions of dough (use a 1.5 tablespoon cookie scoop if you have one) and roll them into balls. Place them 2 inches apart on your prepared baking sheets. They’ll spread a bit, so give them room.
- Bake with confidence. For medium cookies (1.5 tablespoon scoop), bake for 8 minutes. For larger cookies (3 tablespoon scoop), bake for 10 minutes. Set a timer and trust the process. They should look barely done when you pull them out—soft in the middle, just starting to set around the edges.
- The crucial candy press. The instant those cookies come out of the oven, gently press a candy into the center of each cookie. The residual heat will melt the chocolate slightly and create that perfect seal. Don’t wait—do this immediately.
- Exercise restraint. Let the cookies cool on the pan for 5 minutes, then transfer to a cooling rack. Allow the chocolate to fully set before eating, or don’t. I’m not your boss.